Easy POS Docs - POS Terminal & Cart
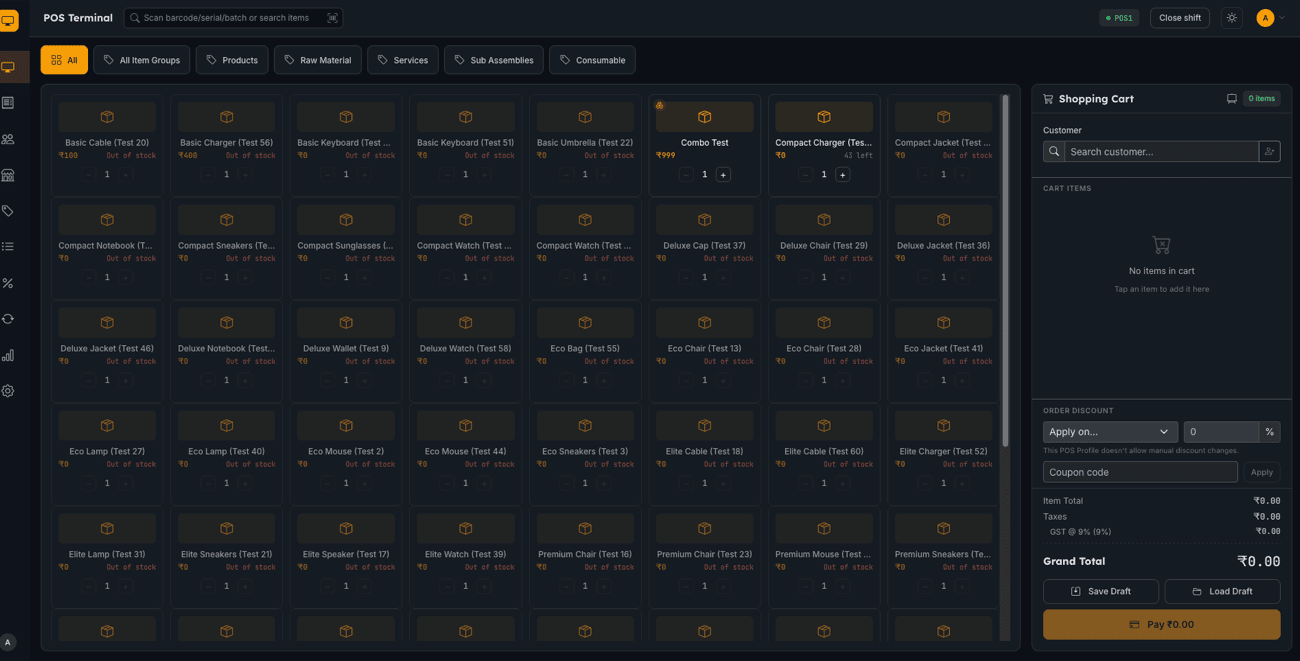
The Terminal is the main checkout screen — a cart-based workflow with live item search, quantity/rate editing, line- and invoice-level discounts, and multi-mode (split) payments in one screen.
Barcode scanning
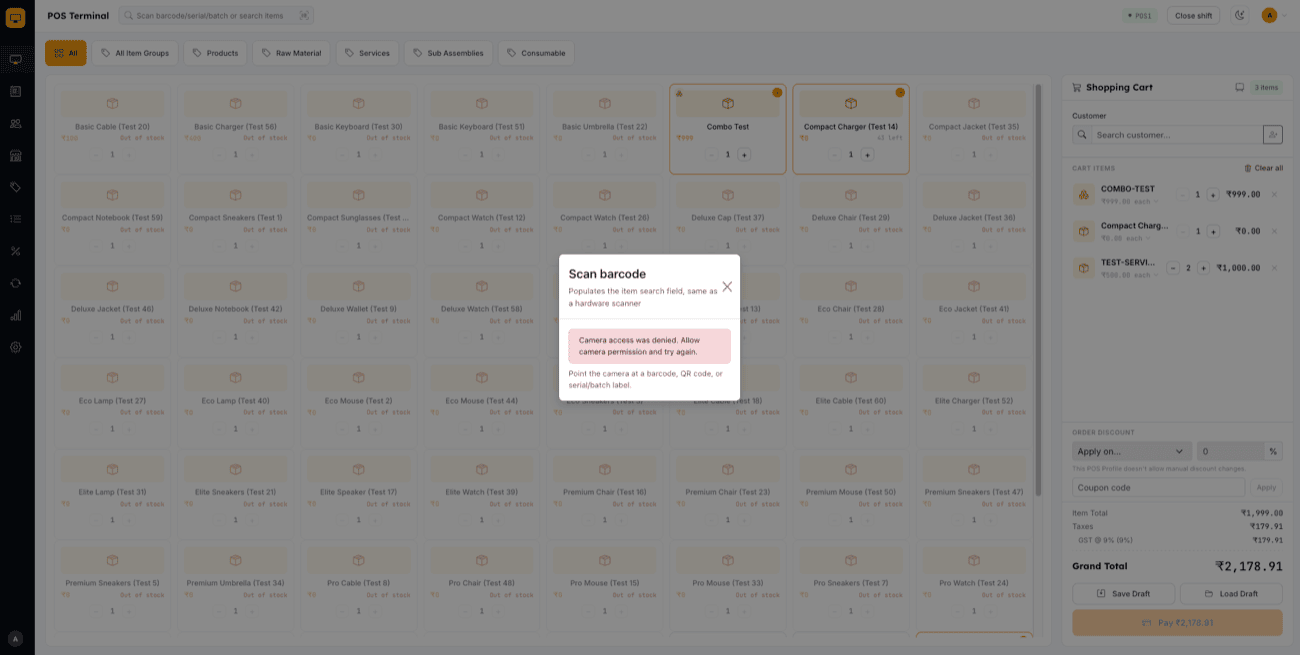
Scan with a USB/Bluetooth hardware scanner (keyboard-wedge input — works anywhere on the Terminal without clicking into the search box first) or the device camera. Both resolve against item barcode/serial/batch/item code and auto-add a unique match straight to the cart.
Item variants
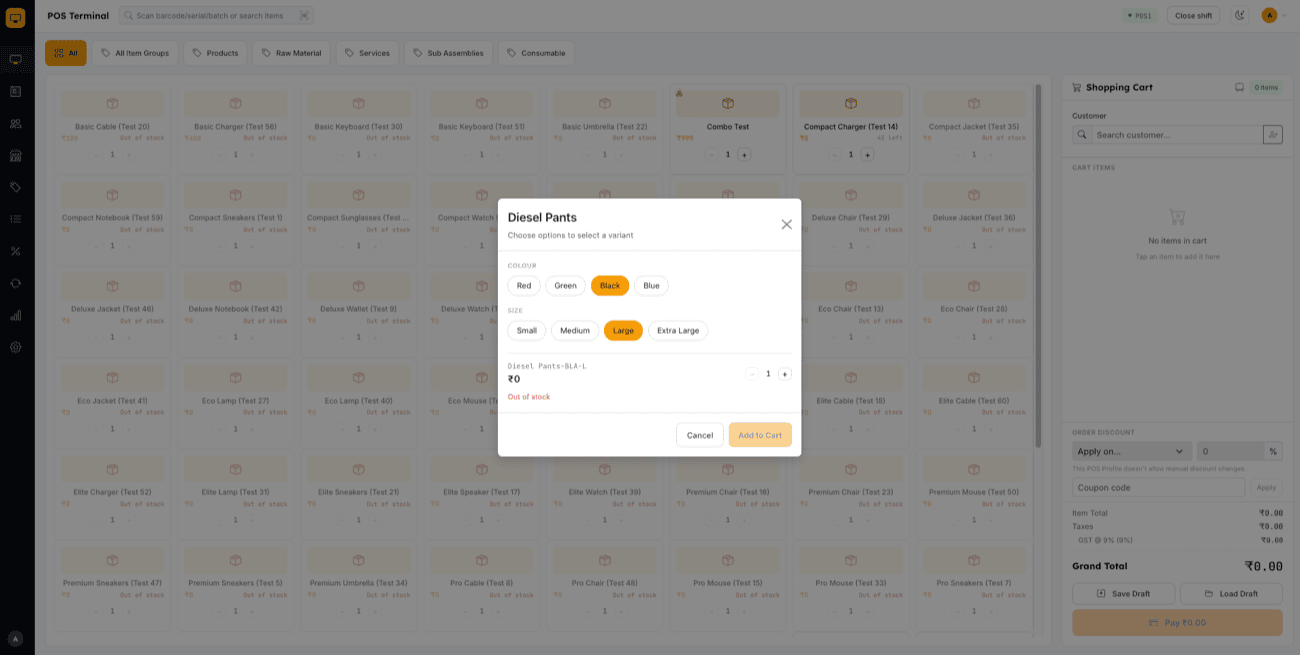
If an item has variants (e.g. size/color), selecting it opens a variant picker — choose attribute values until exactly one matching variant is found, then add it to the cart at its own price and stock.
Product Bundles
Add an ERPNext Product Bundle straight from the item grid like any other item. The Terminal flags it with a bundle badge and previews its components in the cart, while ERPNext itself explodes it into the invoice's packed items and deducts component stock on checkout.
Held / draft sales
Park an in-progress cart as a Draft invoice and pull it back into the Terminal later via the draft picker (search by customer, mobile, or email) — so a cashier can serve another customer without losing a sale.
Customer-facing second screen
Open a live, read-only mirror of the cart (items, running total, payment due, thank-you screen) in a second window for a dual-monitor till setup. Toggle this per POS Profile under POS Profiles & Shift Management.